Sentry for Lightning Components in Salesforce
Having previously worked with Sentry, I decided to hook up Lightning Components to work with it. However, as you guys may already know, working with Salesforce comes with it’s unique challenges and is a little tricky with certain things.
First things first, we need to set up a quick app in the Sentry dashboard.
If you haven’t already done so, you need to create an account with Sentry, it is free. Do that here!
After signing up you will set up your first project.
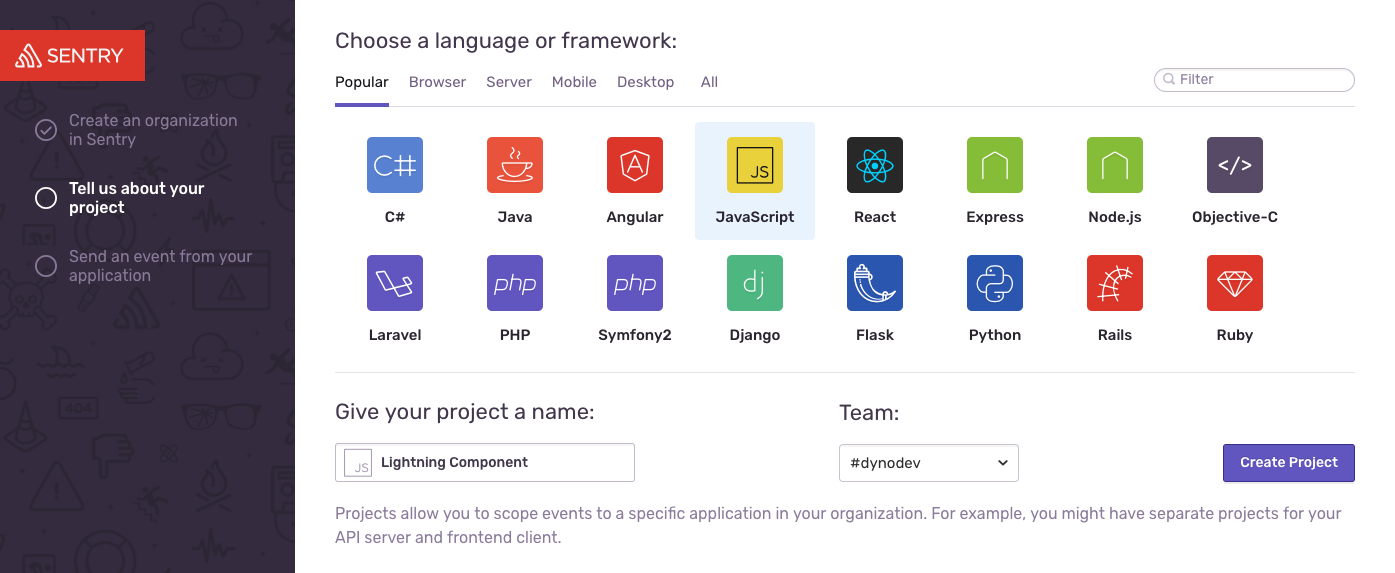
Once you have given your project a name hit the purple Create Project button. Sentry will then provide you with a unique DSN for your project and then your project is ready to go.
DSN should look something like this Sentry.init({ dsn: 'https://[email protected]/1385688' });
Next, we need to set up Salesforce to allow Sentry to work. There are 3 easy steps and one gotcha…
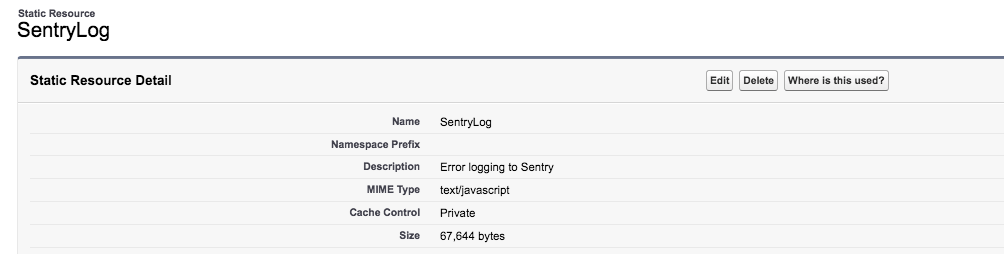
First, we have to create a static resource for the Sentry library, we can either do this or use a CDN, for this tutorial I will use the static resource.
Go to Setup -> CDN
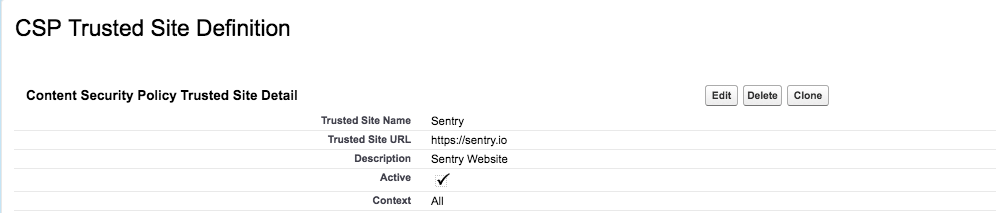
The second step involves allowing Salesforce to communicate to 3rd party APIs. To do this we need to create a CSP Trusted Site, Setup -> CSP
The final step is to create a Sentry Lightning Component, this step is needed… You’ll see why in the end, and it’s actually quite nice for reusability.
This Lightning component is pretty bare-bones.
<ltng:require scripts="{!$Resource.SentryLog}"  afterScriptsLoaded="{!c.sentrySetup}"/>
</aura:component>
And finally your controller:
({
  sentrySetup: function(cmp) {
    const dsn = cmp.get("v.dsn");
    Sentry.init({
        dsn: dsn
    });
  }
});
That’s it! Except for one thing, I did mention one gotcha…
The reason for using a component was that for Sentry to not be required as a dependency for everything we had to drop the Lightning version to 39 for the Sentry component. This is due to Lightning Locker Service, this is a security enhancement for Lightning components by isolating them in their own namespace.
All you gotta do now is drop this component anywhere and trigger and error, then just head over to your Sentry dashboard to view the error!
Try this out! We’d love to hear your techniques/strategies when it comes to error handling and logging for Salesforce. Get involved in the conversation on Twitter or Facebook.